How to take a Screen Capture on Mac OS X
Taking screen captures on Mac OS X is amazingly versitile and powerful, but the keyboard shortcuts are hardly intuitive. Here is a rundown.
⌘⇧4
Command-Shift-4
Turns your mouse pointer into a cross hairs that will allow you to click and drag to capture an area of the screen, and save it as a file on the desktop
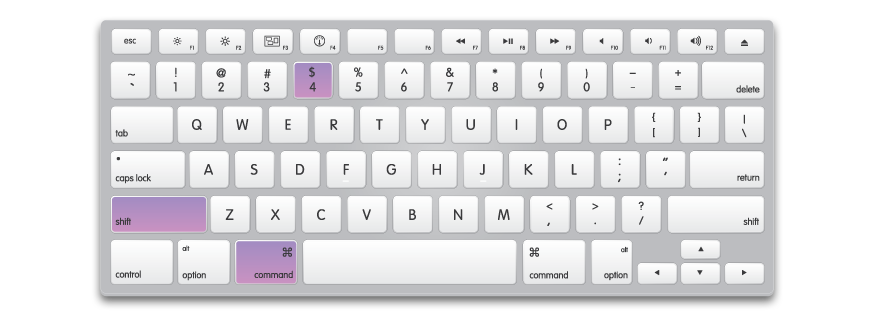
After you enter this mode you can press spacebar to turn the mouse pointer into a Camera icon, and then click on a window to capture the exact window.

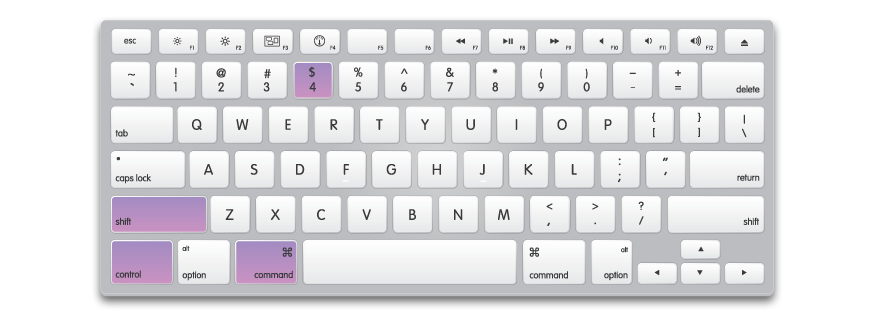
⌘⌃⇧4
Command-Control-Shift-4
By adding Control to the above shortcuts you can skip the desktop and copy the screen capture to your clipboard. This is useful for pasting into documents or emails. Captured.app will not upload screencaptures taken directly to the clipboard.
For Example ⌘-⌃-⇧-4: Select an area to capture directly to the clipboard.
⌘⇧3
Command-Shift-3
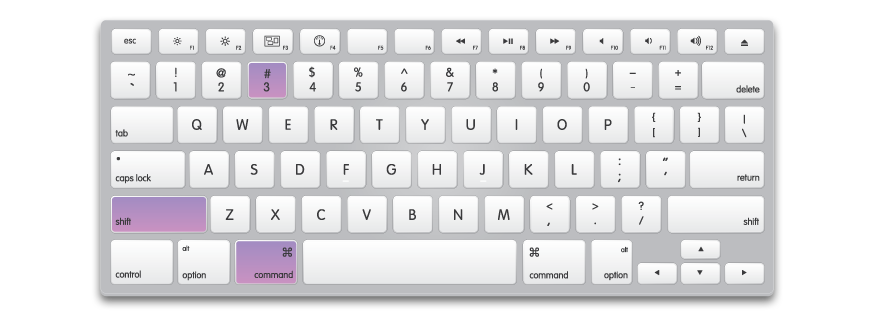
Take a screen capture of the entire screen, and save it as a file on the desktop. If you have two monitors, it will save multiple files.
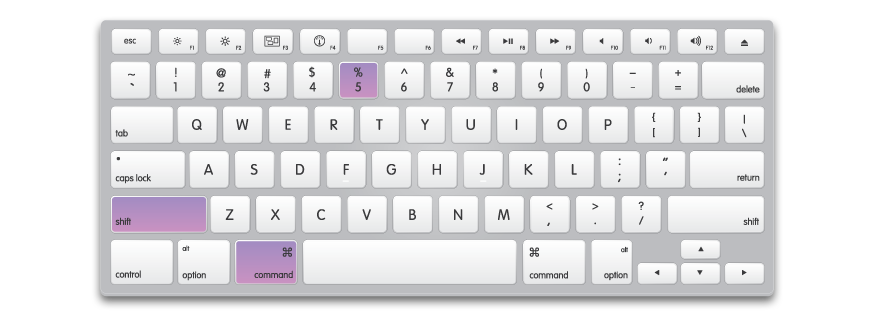
⌘⇧5
Command-Shift-5
If Captured is running, you can skip the desktop and clipboard entirely and upload directly to the server by pressing ⌘-⇧-5, this is also the fastest way to upload an image.
Apple likes to use the character to represent the modifier keys on Mac, and you will see these next to the menu items. In case you are not used to this notation, here is what they mean:
⌘ - Command Key
⇧ - Shift Key
⌃ - Control Key
⌥ - Option Key or Alt Key